Professional Car Window Tint Removal: Expert Tips and Techniques
When it comes to the aesthetic enhancement and protection of your vehicle, window tinting is a great option, but what do you do when the same tint becomes faded, bubbles, or you simply wish to update it? Enter the world of professional car window tint removal!
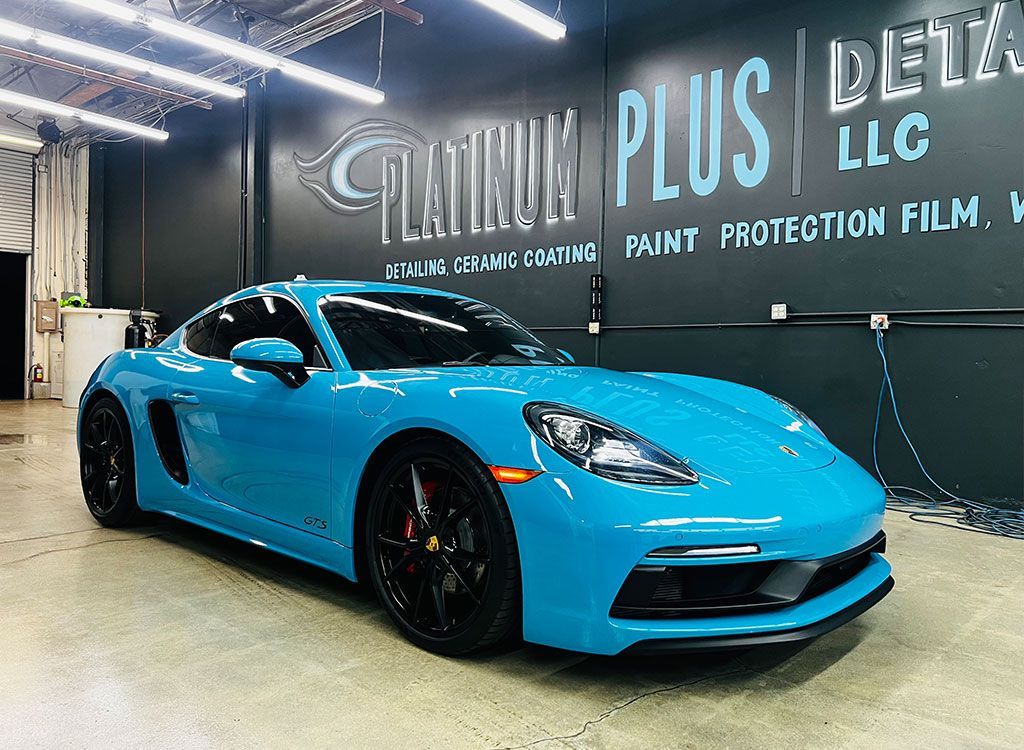
Shedding a new light on your vehicle might be a daunting task if you're not aware of the right techniques for professional car window tint removal. With extensive experience in auto detailing, Platinum Plus Detailing is here to guide you through this process.
In our latest blog post, we reveal expert tips and top-tier methods that can simplify this task yet ensure immaculate results. If the idea of peeling away that old window tint by yourself while maintaining your vehicle's aesthetic appeal seems challenging - stay tuned!
Preparing Your Vehicle for Tint Removal
Before diving into the process of removing tint from your vehicle's windows, it's crucial to adequately prepare your vehicle. Proper preparation ensures a smoother and more efficient removal process, minimizing the risk of damaging the glass or surrounding components.
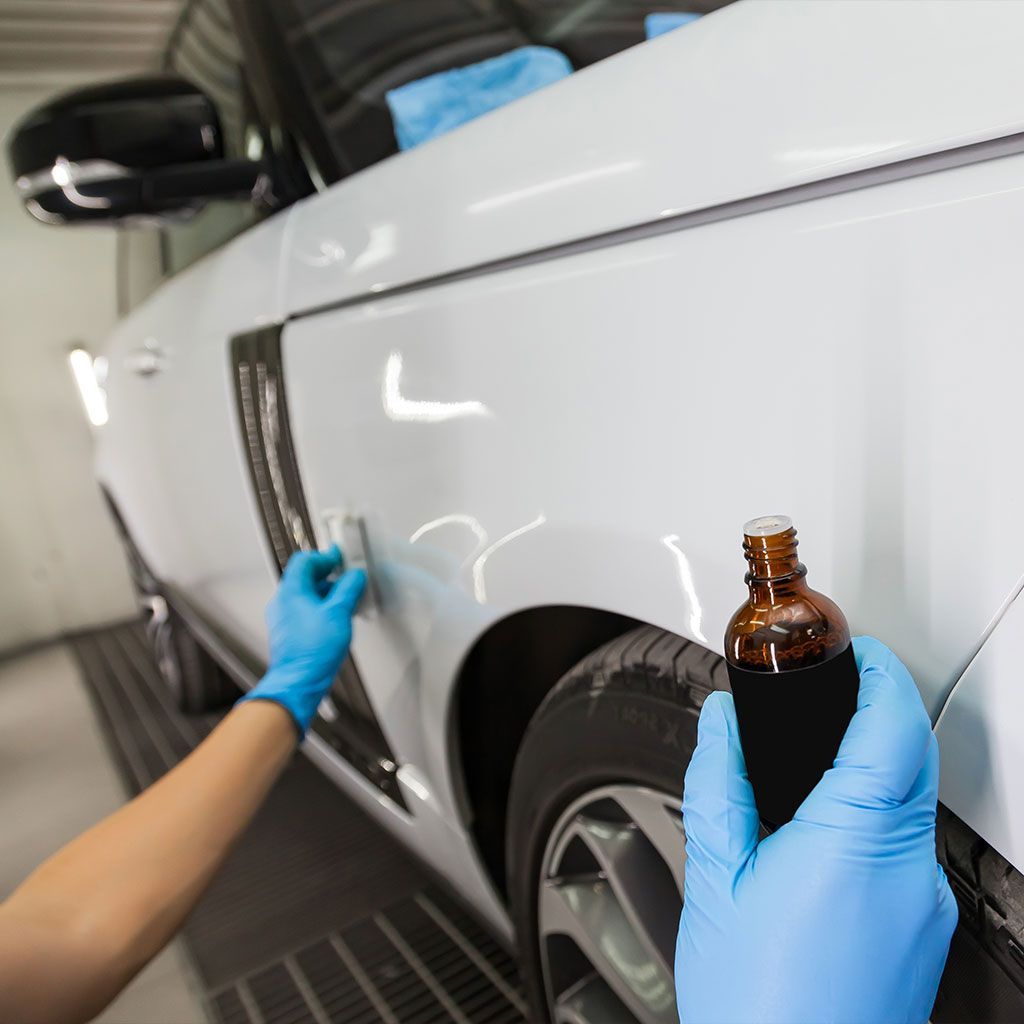
First and foremost, gather all the necessary tools you'll need for the job. These may include a heat gun or hairdryer, a razor blade or scraper, cleaning solution or soapy water, lint-free microfiber cloths, and possibly some adhesive remover if needed. Having these tools handy will help streamline the process and prevent unnecessary interruptions.
Next, choose an appropriate work area for tint removal. Ideally, this should be in a sheltered location like a garage or carport, as working under direct sunlight can complicate the process. Make sure the space is well-ventilated to allow for proper airflow during the process.
Before starting the removal process, ensure that all doors and windows are closed tightly and securely. This precaution helps maintain a controlled environment while you remove the tint.
Lastly, protect any surrounding surfaces that could potentially be damaged during the tint removal process. Cover delicate interior components, such as leather seats or dashboard panels, with plastic sheets or towels. It's always better to be safe than sorry when it comes to protecting your vehicle's interior.
With your vehicle properly prepared, let's now dive into the first step of removing tint: cleaning the tinted glass surface.
Cleaning the Tinted Glass Surface
You might wonder why cleaning is necessary before removing tint. After all, it's going to be removed anyway, right? Well, cleaning the tinted glass surface serves two essential purposes: it softens any adhesive residue present on the window and provides better visibility during removal.
Start by spraying or applying a tint-safe cleaning solution or soapy water to the tinted glass surface. Use a lint-free microfiber cloth to gently clean the window, paying extra attention to areas near the edges where adhesive residue tends to accumulate.
Allow the cleaning solution to sit on the glass for a few minutes; this helps soften any adhesive and makes it easier to remove during the next steps.
Once you've completed this step, thoroughly dry the glass using a clean microfiber cloth. Ensuring there is no moisture left on the surface prepares it for the next stage of the tint removal process.
It's important to note that certain substances, like ammonia-based cleaners or abrasive materials, should be avoided when cleaning tinted windows. These harsh products can damage the tint film and make removal more challenging.
With a clean and dry-tinted glass surface, you're now ready to tackle the actual process of removing the tint.
Handling Stickers and Tape
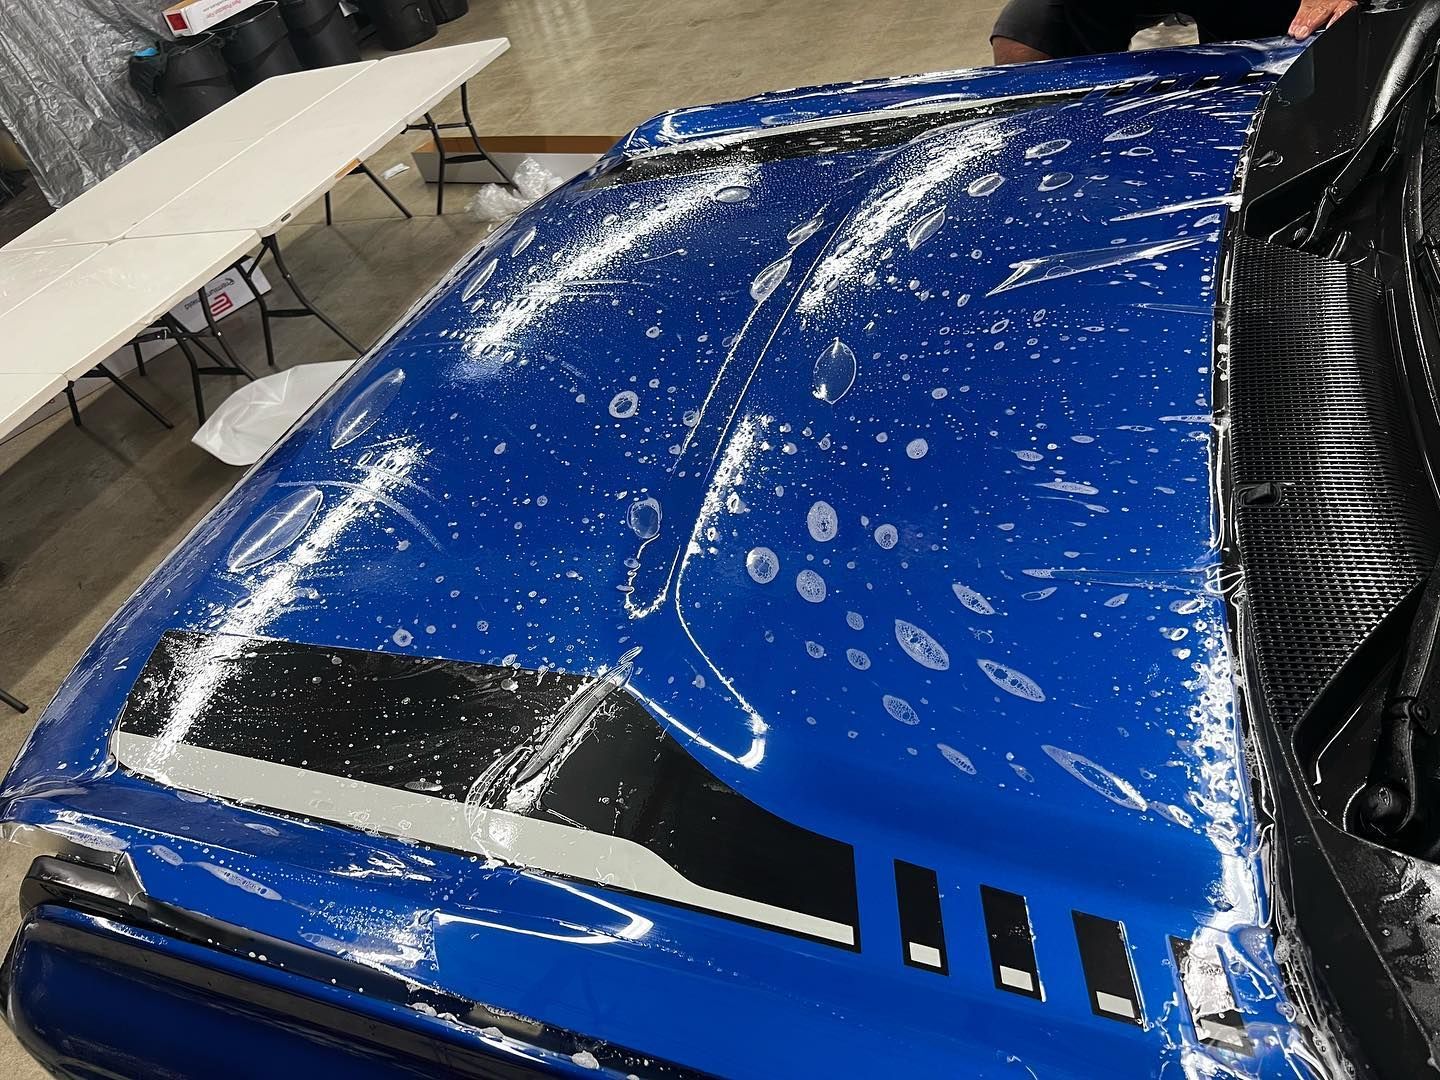
Dealing with sticker and tape residue can be a challenge when removing window tint. These elements often remain on the glass, even after the tint has been peeled off. However, with some expert tips and techniques, you can successfully tackle this issue.
One effective method is to use heat in conjunction with a plastic scraper or credit card. By heating the adhesive left behind from stickers or tape with a heat gun or hairdryer on a low setting, you can soften it and make it easier to remove without damaging the glass surface. Always keep the heat source at a safe distance to avoid overheating the glass or causing burns.
Another option is to use a commercial adhesive remover specifically designed for automotive purposes. Apply a small amount of the remover to a clean cloth and gently rub it over the adhesive residue. This will help dissolve the sticky residue and make it easier to wipe away.
It's important to note that different types of adhesive may require different removal methods. For instance, some adhesives respond better to solvents, while others may need more gentle techniques like soaking in soapy water. If stickers or tape have been on the window for an extended period, they may be more difficult to remove, requiring additional time and effort.
Remember to always test any adhesive removal method in a small, inconspicuous area before applying it to the entire window surface. Also, work in small sections, applying the necessary products and techniques as needed. This approach prevents any damage or residue spread and provides better control over the removal process.
By utilizing these expert tips and techniques, you can effectively handle stickers and tape residue during window tint removal. With patience and careful execution, your windows will be left clean and residue-free, ready for the next stage of the process: removing the tint itself.
Detailed Guide on Removing Tint
Removing window tint requires precision and careful execution to ensure a clean and residue-free result. Here is a detailed guide on how to remove tint from car windows effectively:
- Gather the necessary tools: Before starting the tint removal process, gather the following tools: a heat gun or hairdryer, a utility knife with a fresh blade, a plastic scraper or credit card, glass cleaner, a lint-free cloth or paper towels, and adhesive remover (if needed).
- Prepare the workspace: Park your vehicle in a well-ventilated area away from direct sunlight. Open all doors for easy access to the windows you'll be working on.
- Heat the window tint: Using a heat gun or hairdryer on low heat settings, apply heat to one corner of the window tint. Keep the heat source moving continuously to prevent damage to the glass.
- Peel off the tint: Once the adhesive begins to loosen due to the heat, use your fingernail or a corner of a plastic scraper/credit card to lift the edge of the tint. Slowly peel it back, applying more heat as necessary along with gentle pulling motions.
- Remove any remaining adhesive: If adhesive residue remains on the glass after peeling off the tint, use an automotive adhesive remover or soapy water solution to dissolve it. Apply the appropriate product to a cloth and rub gently over the residue until it dissolves.
- Scrape off stubborn residue: For stubborn adhesive residue, utilize a plastic scraper or credit card to gently scrape it off. Be cautious not to scratch or damage the glass surface in the process.
- Clean the window: After successfully removing the tint and adhesive residue, spray glass cleaner onto the window surface and wipe it clean with a lint-free cloth or paper towels. Ensure all remnants of adhesive and dirt are thoroughly removed.
- Repeat the process for other windows: Follow the same steps for the remaining windows until all the tint has been removed and the glass is clean and clear.
Removing window tint can be time-consuming, so make sure you allocate enough time to complete the task without rushing. Patience, attention to detail, and proper technique will help you achieve optimal results.
Tools For Tint Removal
When it comes to removing window tint, having the right tools is essential to ensuring a successful and efficient process. Here are some of the key tools that professionals use for tint removal:
- Heat Gun or Steamer:
A heat gun or steamer is used to soften the adhesive between the tint and the glass, making it easier to peel off. It's important to use these tools with caution, as excessive heat can damage the window or surrounding components.
- Razor Blade or Scraper: A razor blade or scraper is used to carefully lift and remove the tint film from the window once it has been heated and softened. It's crucial to use a sharp blade or scraper to prevent scratching the glass.
- Spray Bottle with Soapy Water: Before starting the removal process, professionals often spray the tinted window with a mixture of warm soapy water. This helps lubricate the glass and allows for smoother removal without tearing or damaging the film.
- Lint-Free Cloth or Towel: Having a lint-free cloth or towel on hand is essential for drying the glass after removal. This ensures a clean finish without streaks or residue.
- Plastic Trash Bags or Plastic Sheets: To expedite the removal process, professionals often cover the scraped-off tint film with plastic trash bags or plastic sheets. These coverings help create a controlled environment that traps heat and moisture, making it easier to remove residual adhesive.
- Adhesive Remover Solution: In some cases, stubborn adhesive residue may be left on the glass after removing the tint film. An adhesive remover solution specifically designed for automotive applications can effectively dissolve and clean any remaining adhesive.
Remember, using these tools requires patience, attention to detail, and caution to avoid any damage to the window or vehicle interior during the removal process. If you're unsure about your ability to safely remove window tint on your own, it's always best to consult with a professional.
Chemical and Spray Applications
Once the tint film has been removed, there may still be remnants of adhesive or residue left on the glass surface. To tackle this final step of window tint removal, professionals often rely on chemical and spray applications. These products are designed to dissolve and loosen any remaining adhesive with ease. Let's take a closer look at the process:
- Choose an Effective Adhesive Remover: There are various adhesive removers available on the market specifically formulated for removing window tint adhesive. It's important to select a high-quality product that is safe for use on automotive glass surfaces.
- Read and Follow Instructions: Before applying the adhesive remover, carefully read and follow the instructions provided by the manufacturer. Different products may have different application methods and recommended wait times.
- Apply Liberally: Apply the adhesive remover directly onto the glass surface where there is residual adhesive or residue. Use a clean cloth or sponge to spread the product evenly across the affected area.
- Allow Sufficient Dwell Time: The adhesive remover needs time to break down the adhesive and residue. Follow the instructions to determine how long you should let it sit on the glass. This allows for effective penetration and loosening of any stubborn particles.
- Gently Scrub or Wipe Away Residue: After allowing sufficient dwell time, use a cloth or sponge to gently scrub or wipe away the loosened residue. Be cautious not to apply excessive pressure that could scratch or damage the glass.
- Repeat if Necessary: In some cases, particularly if there was heavy adhesive buildup, multiple applications may be required to completely remove all residue. Repeat the process as needed until you achieve a clean finish.
Always remember to work in a well-ventilated area and wear appropriate protective gear, such as gloves and eye protection, when working with chemicals. If you're unsure about the best products and techniques to use for chemical and spray applications, consulting with a professional can provide guidance and assistance.
Post-Removal Cleanup
Once you have successfully removed the window tint from your car, there are a few essential steps to follow for post-removal cleanup. While the removal process can leave behind some adhesive residue or streaks on the glass, a thorough cleanup will help restore the windows to their original clarity and ensure a professional finish.
To begin with, gather the necessary cleaning supplies. You will need a quality glass cleaner that is safe for use on automotive surfaces, lint-free microfiber cloths or towels, and a plastic scraper or razor blade suitable for delicate surfaces. It's important to work with caution during this step to avoid scratching or damaging the glass.
Start by spraying the glass cleaner generously on one window at a time. Allow it to sit for a moment to loosen any remaining adhesive residue. Then, using the plastic scraper or razor blade at a shallow angle, gently scrape off any stubborn residue from the glass surface, taking care not to apply excessive pressure. Be sure to keep the scraper flat against the glass to minimize any potential damage.
Next, grab a clean, lint-free microfiber cloth or towel and wipe away any remaining residue and cleaner from the window. Use firm but gentle strokes to ensure an even and streak-free result. For hard-to-reach areas or corners, you can use cotton swabs or toothpicks wrapped in a small piece of cloth to remove any residue carefully.
Once you have finished cleaning one window, move on to the next until all windows are thoroughly cleaned. Take your time and pay attention to detail during this step, as it will significantly contribute to achieving a polished look after tint removal.
Depending on the type and duration of adhesion used for your window tint, there may be slight variations in the difficulty of cleanup. In some cases, you may encounter more stubborn residue that requires additional effort. If you find yourself struggling with sticky remnants or streaks that won't come off easily, you might consider seeking professional assistance.
Professional Services vs DIY Approach
The decision between using professional services or taking a DIY approach for window tint removal depends on several factors. Let's explore the advantages and disadvantages of each to help you make an informed choice.
Taking the DIY route can be a cost-effective option, especially if you already have the necessary tools and supplies on hand. With some patience, research, and careful execution, it is entirely possible to successfully remove window tint on your own. Online tutorials and guides provide step-by-step instructions, allowing you to save money and learn a new skill along the way.
However, it's essential to weigh the potential risks involved in the DIY approach. Mishandling tools or using improper techniques can lead to scratched windows, damaged defroster lines, or even personal injury. Additionally, removing old or poorly installed window tint can be a time-consuming and tedious process for those with little experience.
On the other hand, professional services offer a range of benefits that may outweigh the drawbacks of the DIY approach.
Professional window tint removal services provide expertise from experienced technicians who have the necessary tools and knowledge to handle delicate procedures without risking damage. They are trained in industry-standard practices and employ specialized techniques that result in efficient and effective removal.
Additionally, professional services offer convenience and peace of mind. By entrusting the task to experts, you can sit back and relax while they take care of all aspects of tint removal, from minimizing damage risks to ensuring a clean finish. This not only saves you valuable time but also eliminates the stress associated with tackling unfamiliar tasks on your own.
If you find yourself in need of window tint removal, consider seeking the assistance of professionals like Platinum Plus Detailing for optimal results. We are market leaders in the installation of
ceramic coating and
PPF in addition to window tinting.